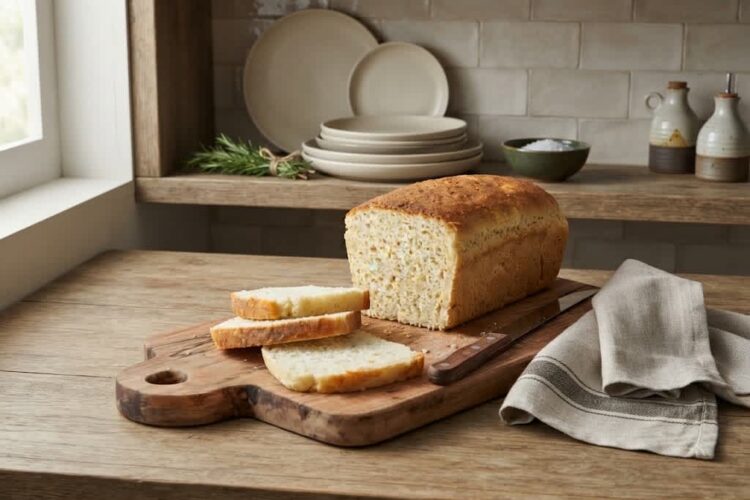
If you have been searching for an easy gluten-free bread recipe that produces a soft, fluffy, and tender loaf, this homemade version is worth trying. It has a light texture, a pleasant flavor, and enough structure to use for sandwiches, toast, French toast, or a simple slice with jam.
Unlike many gluten-free breads that can turn out dry or overly dense, this loaf stays moist while remaining easy to prepare. The recipe is also dairy-free, making it useful for people who avoid both gluten and dairy in their everyday baking.
One of the biggest advantages of making gluten-free bread at home is having control over the ingredients and texture. Store-bought gluten-free loaves can sometimes be expensive, and their texture may vary considerably from one brand to another. Homemade bread allows you to enjoy a freshly baked loaf without needing specialized equipment or complicated bread-making techniques.
This recipe uses instant yeast for a relatively short rise and does not require traditional kneading. The dough is mixed, transferred directly into a loaf pan, allowed to rise, and then baked until beautifully golden.
Why This Gluten-Free Bread Works
Traditional wheat bread relies heavily on gluten to create elasticity and hold the structure of the loaf as it rises. Gluten-free bread requires a different approach because gluten is naturally absent. The combination of gluten-free all-purpose flour, xanthan gum, yeast, eggs, and carefully measured liquids helps create a loaf with enough structure to rise while maintaining a soft crumb. Xanthan gum is particularly useful when the chosen flour blend does not already contain it because it helps provide some of the binding qualities normally associated with gluten.
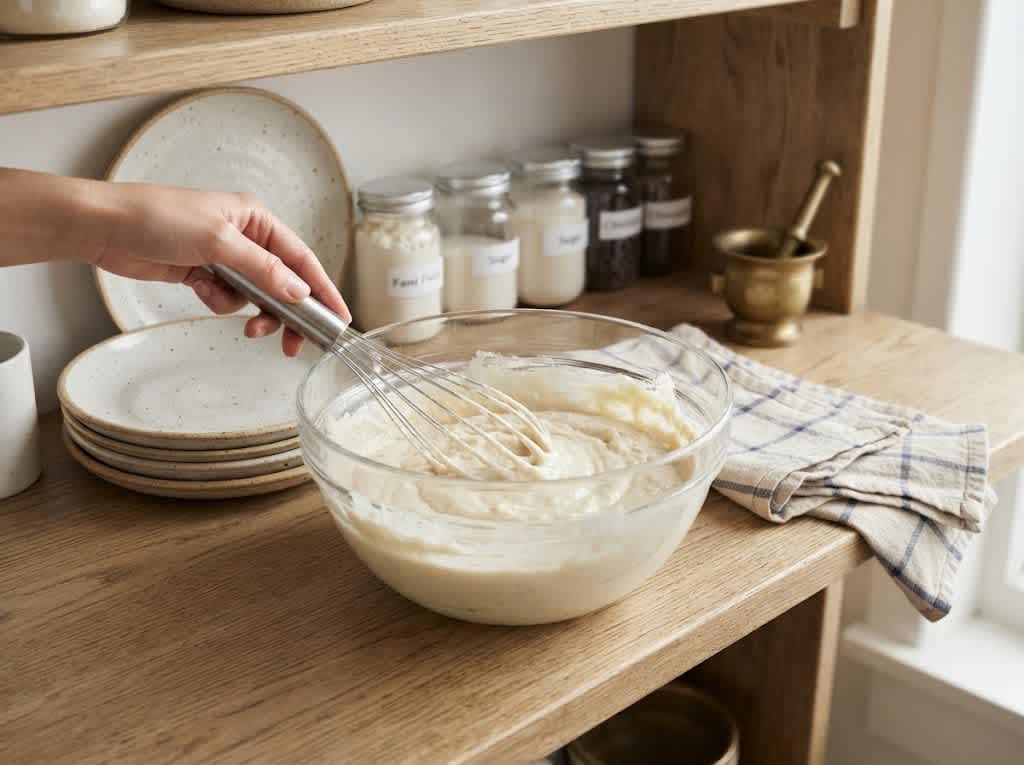
The consistency of this dough is also different from conventional bread dough, so it is important not to expect a firm ball that can be kneaded by hand. After the wet ingredients and eggs are incorporated, the mixture should resemble thick cake batter. It will be wet and sticky, and that is exactly what you should expect. Rather than adding extra flour to make it easier to handle, transfer the mixture directly into the prepared loaf pan. Keeping the dough at the intended consistency helps prevent the finished bread from becoming unnecessarily heavy or dry.
Ingredients That Build a Soft Loaf
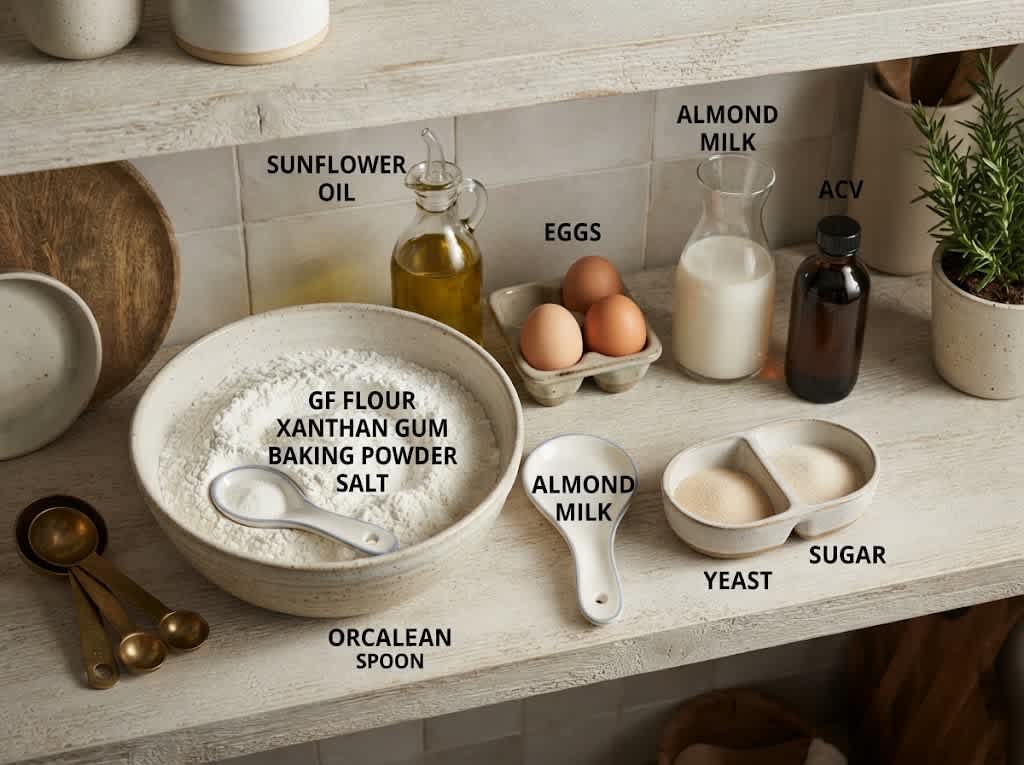
The gluten-free all-purpose flour forms the main structure of this bread. Because different gluten-free flour blends can behave differently, using a reliable all-purpose gluten-free blend is helpful for achieving consistent results. If the flour blend already contains xanthan gum, the additional teaspoon can be left out as specified in the recipe. Baking powder provides additional lift, while instant yeast contributes to the characteristic bread-like rise and flavor.
Sugar is included in a small quantity to provide balance and support the yeast, while salt enhances the overall taste. Sunflower oil contributes moisture and tenderness without adding dairy. Apple cider vinegar adds acidity and works alongside the other ingredients to support the texture of the loaf. Warm unsweetened almond milk provides the liquid needed to bring everything together. The recipe also uses two large beaten eggs at room temperature, which help contribute structure and richness to the finished bread.
How to Prepare the Gluten-Free Dough
Start by preparing the oven and loaf pan before mixing the dough. Preheat the oven to 350°F and position the oven rack in the middle. Grease an 8-by-4-inch loaf pan with oil, making sure the base and sides are properly coated. Preparing the pan first makes the transfer easier once the dough is mixed. Because gluten-free bread dough is naturally sticky and soft, having the pan ready before you begin prevents unnecessary waiting and keeps the preparation process simple.
In a large mixing bowl, combine the gluten-free all-purpose flour, xanthan gum if required, gluten-free baking powder, instant yeast, sugar, and salt. Whisk these dry ingredients together until they are evenly distributed. This step is important because ingredients such as yeast, baking powder, salt, and xanthan gum should not remain concentrated in one part of the mixture. An even dry mixture helps produce a more consistent loaf with balanced flavor and texture throughout.
Adding the Wet Ingredients
Once the dry ingredients are combined, add the sunflower oil, apple cider vinegar, and warm unsweetened almond milk. Mix the ingredients for about one minute until they are incorporated. The milk should be warm rather than hot, with the recommended temperature falling between 105°F and 110°F. Water or another suitable non-dairy milk can also be used according to the original ingredient list. Avoid using liquid that is excessively hot because the temperature can negatively affect the yeast.
Next, add the beaten room-temperature eggs and mix for another minute. As the ingredients come together, the mixture will become thick, sticky, and soft. This is different from standard wheat-based bread dough, but there is no need to correct the consistency by adding more flour. Gluten-free bread dough is commonly much wetter than traditional dough. A spatula is the most useful tool for moving and smoothing this type of mixture without trying to knead it by hand.
Giving the Dough Time to Rise
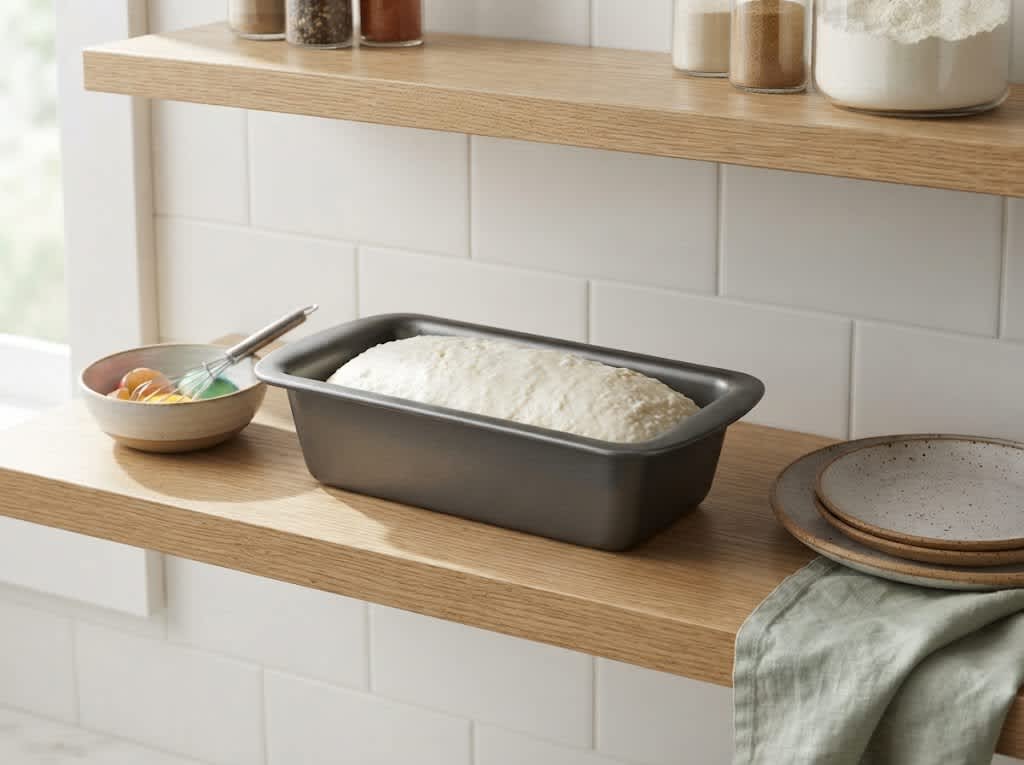
Transfer the prepared dough into the greased 8-by-4-inch loaf pan. Use a spatula to spread the dough evenly and smooth the surface. Try to distribute it across the pan so the loaf can rise evenly during proofing. Once the dough is in the pan, cover it loosely with a clean kitchen towel. Place the pan somewhere warm and free from drafts and allow the dough to rise for approximately 30 minutes.
The short rise time is one of the convenient features of this gluten-free yeast bread. The dough should become noticeably larger and should roughly double in size. The exact timing can vary depending on the temperature of your kitchen, so the visual change is more useful than relying only on the clock. A cooler environment may require additional time, while a warmer location may allow the dough to rise more quickly. Avoid placing the dough somewhere excessively hot.
Baking the Homemade Gluten-Free Bread
After the dough has risen, carefully place the loaf pan on the middle oven rack. Bake the bread at 350°F for approximately 50 minutes. During baking, the loaf should develop a golden-brown top and a firm exterior. One useful way to check the bread is to gently tap it and listen for a hollow sound. The combination of appearance and texture provides a better indication of doneness than simply relying on the timer.
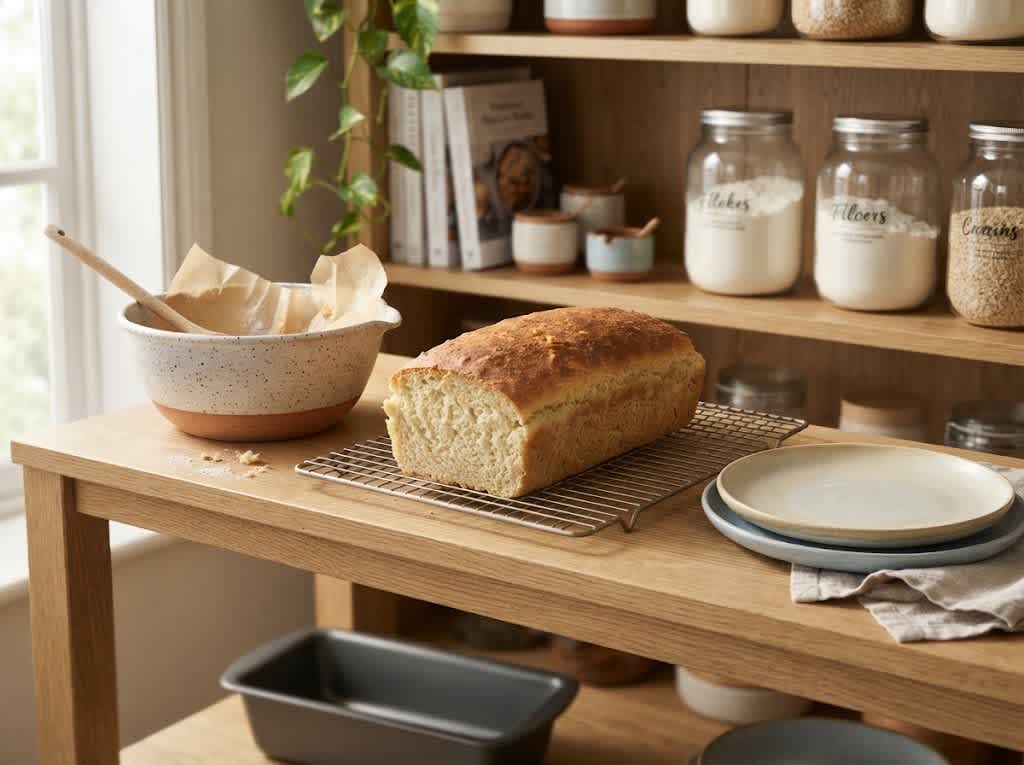
Once the bread has finished baking, remove it from the oven and allow it to remain in the pan for approximately 10 minutes. After this short resting period, carefully remove the loaf from the pan and place it on a cooling rack. Allowing the loaf to cool outside the pan helps prevent trapped moisture from making the bottom soggy. If the bottom needs additional browning, the original method allows the loaf to be baked bottom-side-up for another 10 minutes at 375°F.
The Importance of Cooling Before Slicing
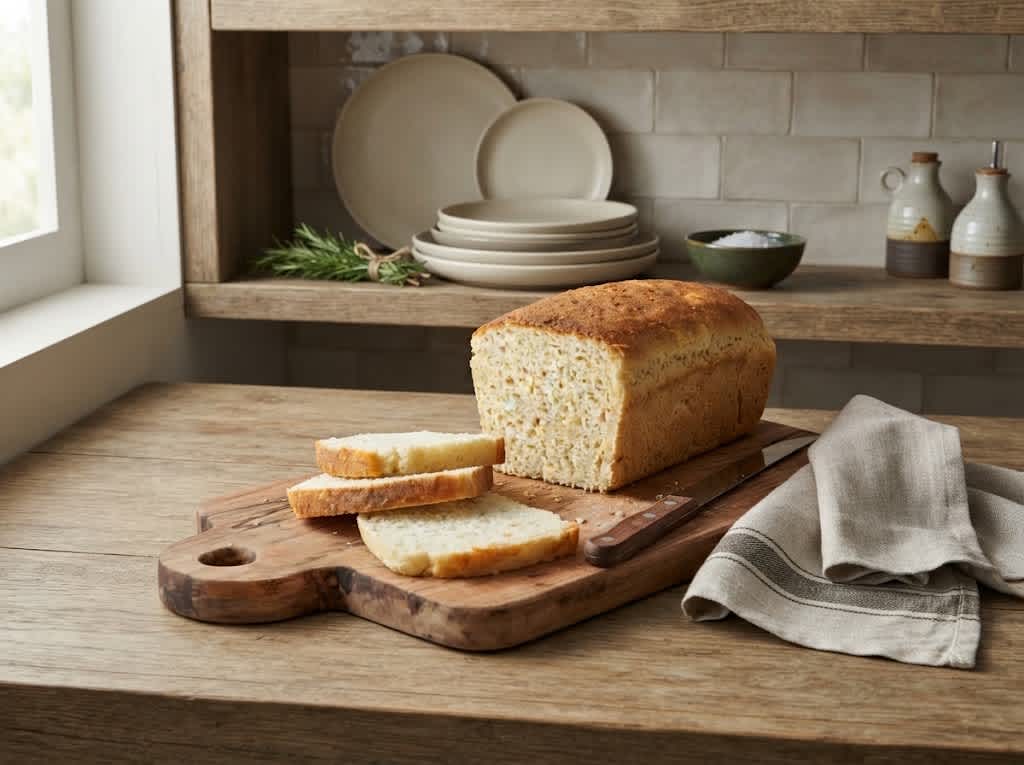
One of the most important steps in this recipe happens after baking. Resist the temptation to slice the bread while it is still hot. Gluten-free bread needs time to settle and finish developing its internal structure as it cools. Cutting into the loaf too soon can cause the crumb to become fragile and may result in slices that break apart or appear gummy. For the cleanest slices, allow the loaf to cool completely before using a serrated bread knife.
Once completely cooled, this homemade gluten-free bread can be sliced and served in many different ways. Toasting is an easy option because the bread develops a pleasant crisp exterior while remaining tender inside. It can also be used for sandwiches, breakfast toast, French toast, or served alongside savory meals. A slice with jam provides a simple sweet option, while avocado toast offers a more substantial breakfast or snack. The neutral flavor makes the bread flexible enough for both sweet and savory toppings.
Serving Ideas for Gluten-Free Bread
Freshly baked gluten-free bread can become a useful everyday staple rather than something reserved for special occasions. For breakfast, toast a slice and top it with avocado, jam, or another preferred spread. For lunch, use two slices to create a sandwich with your favorite fillings. The bread can also be cut into thicker slices and used for French toast. Because the loaf is homemade, you can choose how thick or thin you want each slice depending on how you plan to serve it.
This bread also works well when you want a simple accompaniment for meals. Serve toasted slices alongside soups, salads, or other dishes that benefit from a piece of bread. Leftover slices can be toasted when needed, which makes the loaf practical for several days of meals. The recipe’s dairy-free composition also makes it useful for households where dairy is avoided, provided that all packaged ingredients used are suitable for the dietary requirements of the individual.
Notes for Better Results
Check Your Gluten-Free Flour Blend
Gluten-free flour blends can contain different combinations of rice flour, starches, and other ingredients, so their performance can vary. If your selected blend already contains xanthan gum, follow the recipe instruction and leave out the additional teaspoon. Using more xanthan gum than necessary may change the texture of the bread. For the most reliable result, use a gluten-free all-purpose flour blend that is intended for baking.
Pay Attention to the Milk Temperature
The almond milk should be warm and fall within the recommended 105°F to 110°F range. Extremely hot liquid is not suitable for yeast-based baking. A kitchen thermometer can make this step easier, especially if you regularly bake bread. If you do not have a thermometer, the liquid should feel comfortably warm rather than hot. Maintaining an appropriate temperature helps create the conditions needed for the yeast to work during the short rising period.
Do Not Add Extra Flour to Sticky Dough
The sticky consistency of this dough is intentional. Unlike traditional wheat bread dough, it should not be kneaded into a smooth, elastic ball. Adding additional flour simply because the mixture looks wet can produce a heavier loaf and alter the intended balance of ingredients. Use a spatula to transfer and smooth the mixture in the pan, then allow the yeast to do its work during the rise.
Allow the Bread to Cool Completely
Cooling is essential for getting slices that hold together properly. Even though the loaf may smell delicious immediately after baking, the inside needs time to stabilize. Removing the bread from the pan after the initial 10-minute rest and placing it on a rack helps release excess moisture. Wait until the loaf is fully cool before slicing to reduce the chance of crumbling or disintegration.
Soft and Fluffy Gluten-Free Bread
A soft, fluffy, moist homemade gluten-free bread made with gluten-free all-purpose flour, instant yeast, warm almond milk, eggs, and sunflower oil.
1
servings35
minutes50
minutes191
kcal1
hour25
minutesIngredients
2 1/2 cups gluten-free all-purpose flour
1 teaspoon xanthan gum (leave out if your flour blend already includes it)
1 teaspoon gluten-free baking powder
2 1/4 teaspoon instant yeast
2 tablespoons sugar
1 teaspoon salt
1/3 cup sunflower oil
1 teaspoon apple cider vinegar
1 1/2 cups warm unsweetened almond milk (or other non-dairy milk or water), between 105-110°F
2 large eggs, beaten, room temperature
Directions
- Preheat the oven to 350°F. Position the oven rack in the middle position. Grease an 8-by-4-inch loaf pan with oil.
- Add the gluten-free all-purpose flour, xanthan gum if required, gluten-free baking powder, instant yeast, sugar, and salt to a large bowl. Whisk thoroughly until the ingredients are evenly combined.
- Add the sunflower oil, apple cider vinegar, and warm almond milk. Mix for approximately one minute until the ingredients are combined.
- Add the beaten room-temperature eggs and mix for another minute. The finished mixture should have the consistency of thick cake batter. It will be wet and sticky.
- Transfer the dough into the prepared loaf pan. Use a spatula to spread and smooth the top evenly.
- Cover the loaf pan with a kitchen towel. Place it in a warm, draft-free area and allow the dough to rise for approximately 30 minutes, or until it has roughly doubled in size.
- Place the risen loaf on the middle rack of the preheated oven. Bake for approximately 50 minutes, or until the top is golden brown and the loaf sounds hollow when tapped.
- Remove the bread from the oven and let it cool in the pan for 10 minutes. Carefully remove it from the pan and transfer it to a cooling rack. If the bottom needs more browning, bake the loaf bottom-side-up for another 10 minutes at 375°F.
- Allow the bread to cool completely before slicing. This is important because slicing the loaf while it is still hot may cause it to break apart or disintegrate.
