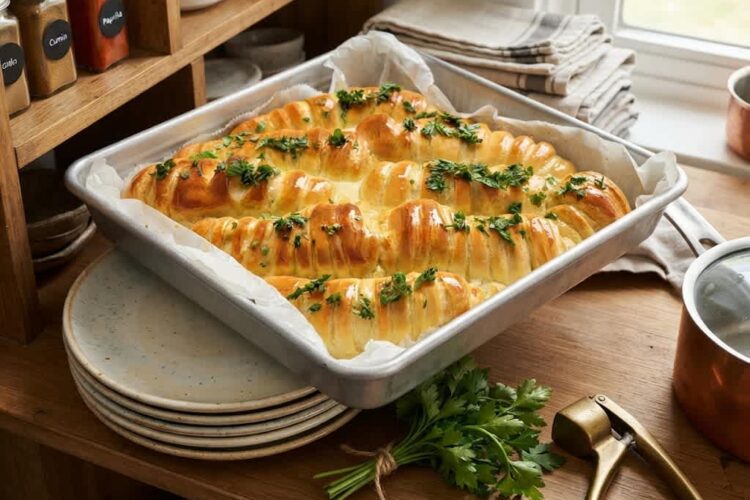
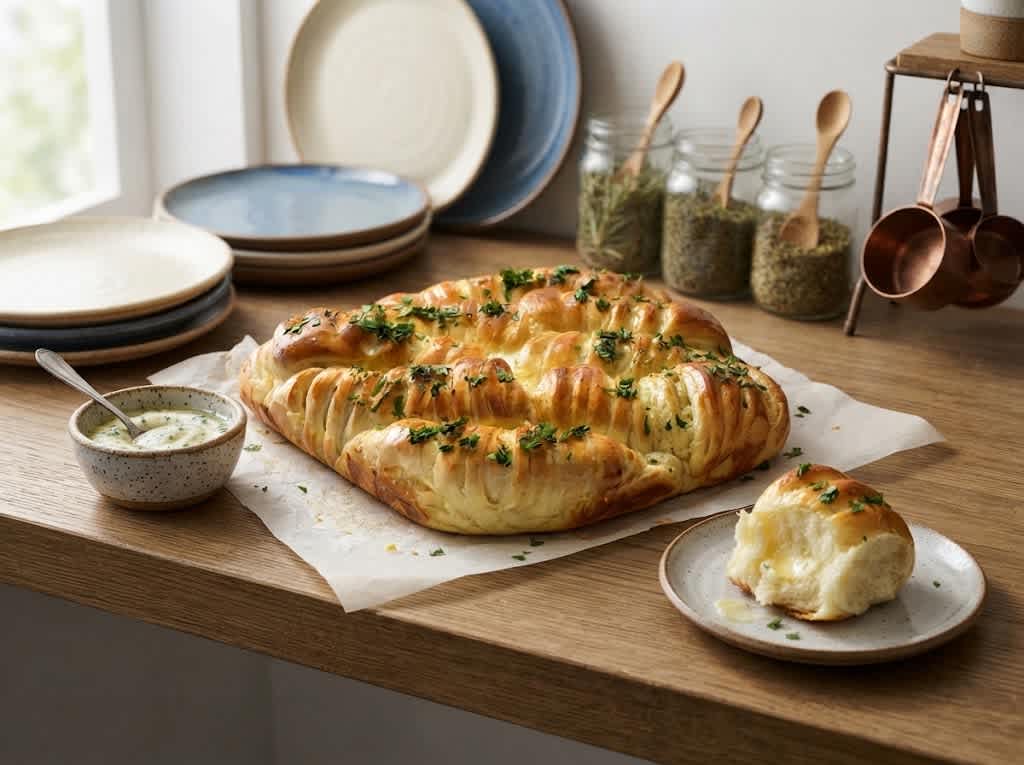
Cheesy mozzarella stuffed bread is a soft, buttery homemade bread filled with gooey melted mozzarella and finished with butter and fresh parsley. Each piece has a tender, fluffy center, a lightly golden outside, and a satisfying cheesy filling that makes it hard to stop at just one.
This baked stuffed bread is simple enough for a weekend kitchen project while still being special enough for family dinners, gatherings, and parties. The combination of freshly baked dough, melted mozzarella, and buttery herbs creates the kind of comforting flavor that works beautifully as a side dish or snack.
This mozzarella stuffed bread recipe uses a yeast-based dough made with warm milk, honey, flour, butter, egg, salt, and sugar. After the dough is kneaded until smooth and elastic, it is given enough time to rise before being divided and shaped around mozzarella.
The shaped breads receive a second rise before baking, which helps create their soft pull-apart texture. Once they come out of the oven, a generous brushing of melted butter and a sprinkle of parsley give the bread a fragrant, savory finish. The result is homemade cheesy bread that looks inviting and tastes even better while warm.
Why This Homemade Stuffed Bread Is So Good
The appeal of this cheesy bread comes from its texture as much as its flavor. The dough is enriched with milk, butter, and egg, which helps produce a soft and tender crumb instead of a firm or crusty loaf. Inside, mozzarella becomes wonderfully stretchy and creamy as it heats in the oven. The contrast between the fluffy bread and melted cheese makes every bite satisfying. A final layer of melted butter adds richness to the surface, while fresh parsley provides a light herbal note that balances the buttery flavor.
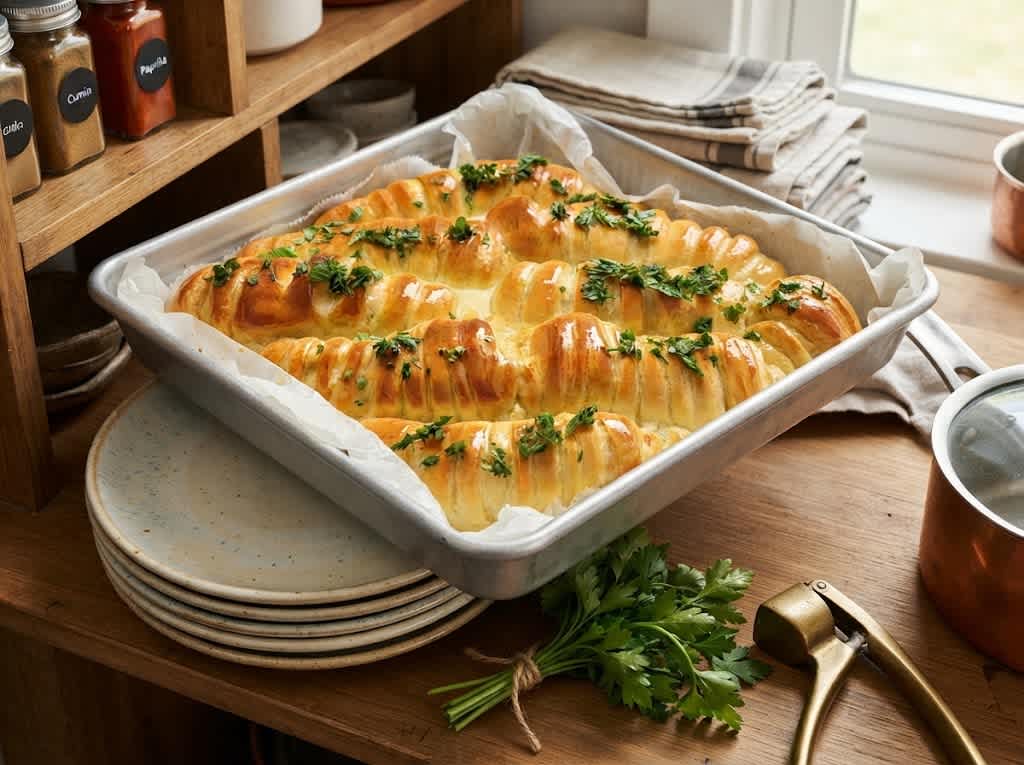
Another advantage of making stuffed bread at home is that the dough can be shaped into individual portions rather than one large loaf. Dividing the dough into eight pieces creates convenient servings that can be pulled apart and enjoyed individually. The small cuts made on one side of each piece also give the bread an attractive layered appearance after baking. When arranged together in a square pan, the pieces create a beautiful centerpiece that can be placed directly on the dinner table.
The Secret to Soft and Fluffy Bread
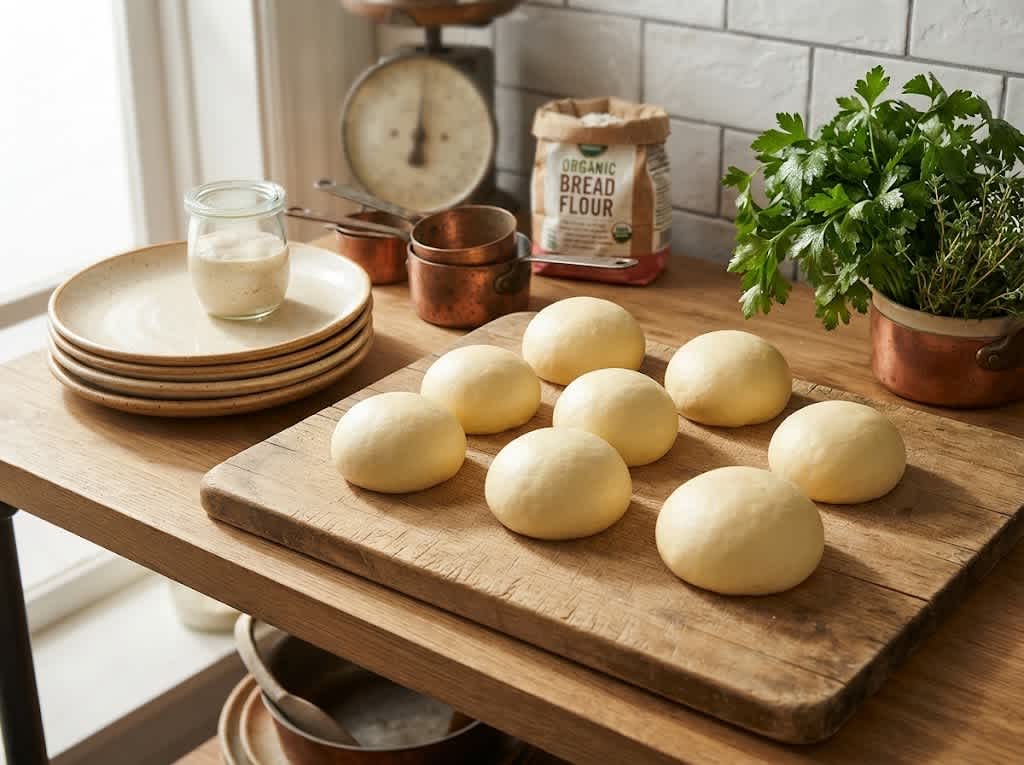
Good homemade bread begins with properly activated yeast. The warm milk should be comfortable to the touch rather than extremely hot. Milk that is too hot can interfere with the yeast, while milk that is too cool may slow the activation process. Combining the warm milk with honey and active dry yeast and allowing the mixture to rest for about 10 minutes gives the yeast time to become foamy and bubbly. This simple step is useful because it indicates that the yeast is active before the remaining ingredients are incorporated.
Kneading is another important part of the recipe. Once the egg, softened butter, sugar, salt, and flour are added, the dough needs to be worked until it becomes smooth and elastic. This generally takes around seven to ten minutes by hand or with a stand mixer fitted with a dough hook. Proper kneading develops the dough’s structure, helping it hold the gases produced during fermentation. The finished dough should feel soft and workable rather than dry and stiff.
How the Dough Rises
After kneading, the dough is placed in a lightly greased bowl and covered with a clean kitchen towel. It should rest in a warm area for approximately one hour and thirty minutes, or until it has doubled in size. This first proofing period gives the yeast time to work through the dough and helps create the light texture associated with soft homemade bread. The exact time can vary slightly depending on the temperature of the kitchen, so looking at the dough rather than relying only on the clock is useful.
A properly risen dough should look noticeably larger and feel airy. Once it has doubled, gently punching it down releases some of the accumulated air. This does not mean aggressively kneading the dough again. The goal is simply to remove excess gas and make the dough easier to divide and shape. Handling it gently at this stage helps maintain the soft structure that has developed during the first rise.
Dividing and Shaping the Bread
For this recipe, the dough is divided into eight equal portions, with each piece weighing approximately 58 grams. Keeping the pieces similar in size helps them bake at roughly the same rate and gives the finished bread a neat appearance. Each portion is first rolled into a ball and then flattened into an oval. The shaping process is what creates the distinctive stuffed and layered design.
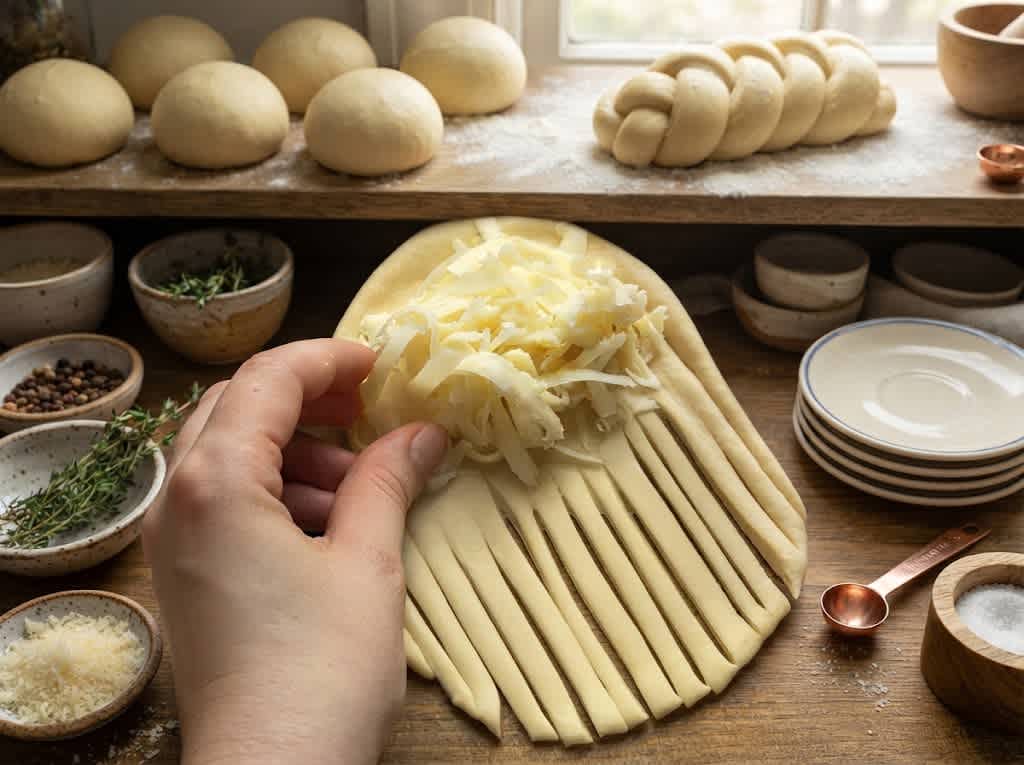
Small cuts are made on one half of the flattened oval while the other half remains uncut. Shredded mozzarella is placed on the uncut side, and the dough is rolled tightly from the cheese-filled side toward the cut side. This creates a layered log shape that holds the cheese inside while allowing the cuts to form an attractive pattern on the outside. Rolling firmly but carefully is important because loose shaping can allow the filling to escape during baking.
Choosing and Adding the Mozzarella
Mozzarella is particularly well suited to this recipe because it melts smoothly and develops the stretchy texture people expect from cheesy stuffed bread. The cheese should be placed on the uncut portion of the dough so it remains enclosed as the bread is rolled. Avoid overfilling each piece because too much cheese can make shaping difficult and may cause the filling to leak during baking.
The goal is not simply to create bread with cheese sitting in one large pocket. The rolled shape allows the mozzarella to spread through the center as it melts, creating a delicious cheesy interior throughout the individual pieces. When the bread is served warm, the melted mozzarella pairs beautifully with the soft buttery dough.
The Second Proofing Stage
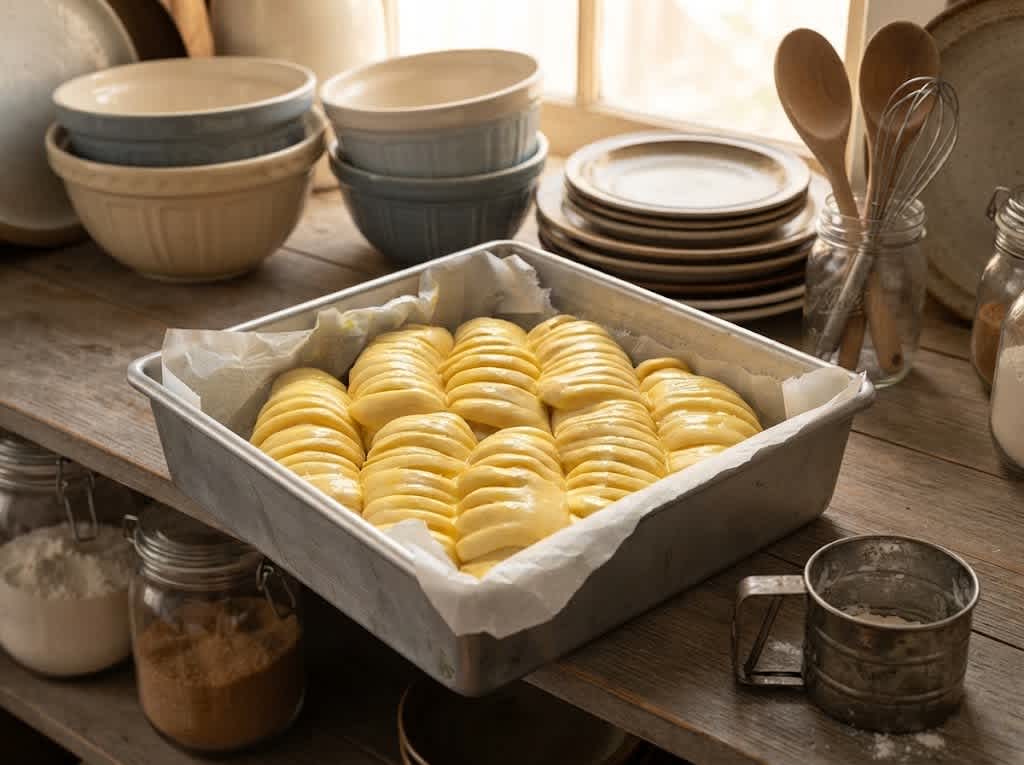
Once all eight pieces have been shaped, they are arranged in a parchment-lined square pan with some space between them. The second rise takes around 30 minutes and allows the shaped dough to become slightly puffy before baking. This step should not be skipped if you want a soft, airy result. The second proof gives the yeast another opportunity to work after the dough has been handled and shaped.
The pieces may begin to move closer together as they expand. That is completely fine. They can eventually form a connected pull-apart bread, making them easy to separate at the table. The parchment lining also helps prevent sticking and makes cleanup easier after baking.
Preparing the Bread for the Oven
Before baking, the tops are brushed with beaten egg or melted butter according to the preparation instructions. An egg wash can help produce a more polished golden appearance, while butter adds richness. The bread is then baked in a preheated oven at 375°F (190°C). Preheating is important because the dough should enter an oven that has already reached the correct temperature.
The bread generally needs about 20 minutes to bake, although the recipe allows approximately 20 to 25 minutes. The finished pieces should have a golden exterior and feel properly baked around the edges. The mozzarella inside should be melted and warm. Since ovens can vary, checking the bread toward the end of the baking period helps prevent overbaking.
The Buttery Parsley Finish
The final finishing step is what gives this homemade cheesy bread its irresistible aroma. As soon as the bread comes out of the oven, it is brushed with melted butter. The warm surface absorbs some of the butter, creating a richer and softer exterior. Freshly chopped parsley is then scattered over the top, adding color and a mild herbal freshness.
This simple finish does not require a complicated sauce or topping. The butter, parsley, and melted mozzarella provide enough flavor to make the bread satisfying on its own. The result is a golden, fragrant bread that can be placed on the table while still warm and enjoyed immediately.
How to Serve Mozzarella Stuffed Bread
Warm cheesy stuffed bread works especially well as a side dish with soups, pasta, roasted vegetables, grilled foods, and hearty family dinners. The soft texture makes it ideal for soaking up sauces and accompanying meals that benefit from something buttery and comforting. Because the individual pieces can be pulled apart, it is also convenient for sharing at the table.
This bread can also be served as a party appetizer. Arrange the baked pieces on a serving platter while they are still warm and allow guests to pull them apart. The melted mozzarella creates an appealing cheesy center, while the golden exterior and parsley topping make the bread visually attractive. It is a simple option when you want a homemade appetizer without preparing several different dishes.
Common Questions About Stuffed Bread
Can I prepare this bread ahead of time?
The dough requires a substantial proofing period, so it is best to plan ahead if you want to serve the bread at a particular meal. The first rise takes about one hour and thirty minutes, followed by shaping and another 30-minute rise. Baking then takes approximately 20 to 25 minutes. Planning around these stages makes the process much easier.
Why is my bread not fluffy?
A dense result can be caused by inactive yeast, insufficient kneading, inadequate proofing, or an overly cool environment. Make sure the yeast becomes foamy after being mixed with warm milk and honey. The dough should also have enough time to rise until doubled in size. During the second rise, look for a slightly puffy appearance before placing the bread in the oven.
How do I keep the mozzarella inside?
The cheese should be placed on the uncut half of each flattened dough portion. Roll the dough tightly from the cheese-filled side toward the cut side, making sure the edges remain together as you shape it. Avoid adding an excessive amount of filling, because too much cheese can increase the chance of leakage during baking.
Can I serve this as an appetizer?
Yes. The individual stuffed bread pieces make a convenient sharing appetizer. Their pull-apart shape means guests can easily take one piece at a time. Serve the bread warm so the mozzarella remains soft and melted. It can also be placed alongside a main meal as a homemade bread side.
What makes this bread different from regular cheese bread?
The main difference is the way the mozzarella is enclosed and the dough is shaped into individual layered portions. Instead of simply adding cheese to the top of a loaf, this method places mozzarella inside each piece. The result is a soft bread with melted cheese hidden in the center and a decorative exterior created by the small cuts in the dough.
Soft and Cheesy Mozzarella Stuffed Bread Recipe
Soft, buttery homemade bread filled with melted mozzarella, baked until golden, then finished with melted butter and fresh parsley.
8
servings20
minutes20
minutes2
hours2
hours40
minutesIngredients
- Dough
100 grams warm milk (1/2 cup)
7 grams active dry yeast (2 1/4 teaspoons)
1 tablespoon honey
250 grams all-purpose flour (2 cups)
30 grams soft butter (2 tablespoons)
1 egg
1 teaspoon salt
1 tablespoon sugar
- Egg Wash
1 egg
- Finish
2 tablespoons butter
1 tablespoon parsley
Directions
- Combine the warm milk, honey, and active dry yeast in a small bowl. Leave the mixture undisturbed for about 10 minutes, or until it becomes foamy and bubbly.
- Add the egg, softened butter, sugar, salt, and all-purpose flour to the activated yeast mixture. Knead the dough by hand or with a stand mixer fitted with a dough hook for 7–10 minutes, until smooth and elastic.
- Transfer the dough to a lightly greased bowl. Cover it with a clean kitchen towel and place it somewhere warm. Allow it to rise for about 1 hour 30 minutes, or until the dough has doubled in size.
- Gently punch down the risen dough to release excess air. Divide it into 8 equal portions, approximately 58 grams each.
- Roll each portion into a ball, then flatten it into an oval shape. Make several small cuts on one half of the oval, leaving the other half uncut.
- Place shredded mozzarella on the uncut side. Roll the dough tightly from the cheese-filled side toward the cut side to create a layered log shape.
- Arrange the shaped breads in a parchment-lined square pan, leaving some space between each piece. Cover and let them rise for another 30 minutes, until slightly puffy.
- Brush the tops with beaten egg or melted butter.
- Preheat the oven to 375°F (190°C). Bake the stuffed breads for approximately 20 minutes, or until golden brown and the mozzarella is melted inside. If needed, allow up to 25 minutes of baking time.
- Brush the warm breads with melted butter and sprinkle with freshly chopped parsley. Serve warm for the best soft texture and melted cheese.
