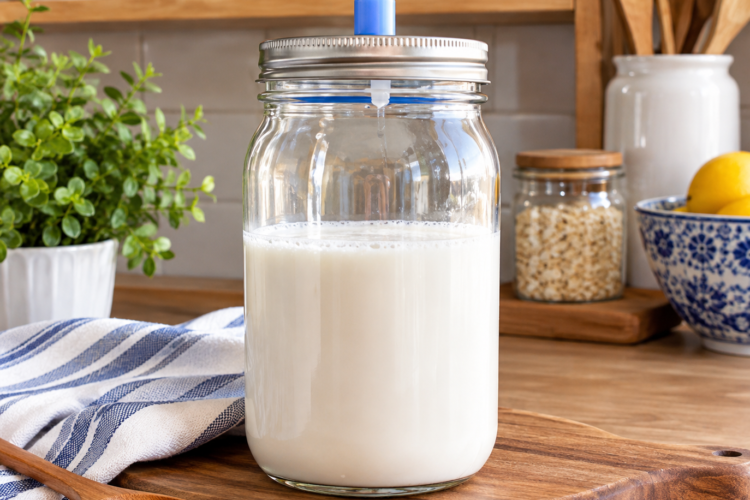
Homemade milk kefir is a simple fermented milk drink made with just two main ingredients: whole milk and live milk kefir grains. This easy milk kefir recipe is a practical way to prepare a naturally tangy, yogurt-like probiotic drink at home without complicated equipment or lengthy preparation. Once you have active kefir grains, you can reuse them for batch after batch, making homemade kefir an affordable addition to your regular kitchen routine.
What Is Milk Kefir?
Milk kefir is a fermented dairy drink with a pleasantly tangy flavor and a consistency that is generally thinner than yogurt. It is traditionally prepared by combining milk with live milk kefir grains and allowing the mixture to ferment at room temperature. During fermentation, the kefir culture works on the milk, changing its flavor, aroma, and texture. The result is a refreshing cultured milk drink that can be enjoyed on its own or incorporated into smoothies and other foods.
The fermentation period has a noticeable effect on the finished kefir. A shorter fermentation usually produces a milder flavor, while a longer fermentation tends to create a sharper, more pronounced tang. For this reason, homemade kefir can be adjusted according to personal preference. Many people find that tasting the kefir after about 12 hours helps them understand how quickly their particular grains are working and when the flavor has reached the level they enjoy.
Why Make Milk Kefir at Home?
Making milk kefir at home is appealing because the process is remarkably straightforward. Unlike some other fermented dairy recipes, homemade kefir does not require heating the milk to a particular temperature before adding the culture. The basic method involves adding milk kefir grains to milk, covering the container, allowing fermentation to take place, and then straining the finished kefir. With clean equipment and healthy grains, the process can easily become part of a regular kitchen routine.
Another advantage is that milk kefir grains can be reused. After each batch is fermented, the grains are separated from the finished drink and placed into fresh milk. This means you do not need a new culture for every batch. In addition, kefir grains can multiply over time, giving you the opportunity to make larger quantities or share extra grains with family and friends.
Milk Kefir Grains Explained
Despite their name, milk kefir grains are not grains like wheat, rice, or other cereal grains. The word “grains” describes their appearance and texture. They are living cultures made up of communities of microorganisms that work together during fermentation. When placed in milk, these cultures ferment the milk and create the characteristic flavor and consistency associated with kefir.
Fresh milk kefir grains often look somewhat like small pieces of cauliflower or soft cottage cheese. Their appearance can vary depending on their age, condition, and environment. Healthy grains can gradually increase in size and number when they are regularly maintained. This is one reason kefir is often considered a convenient long-term fermentation culture for people who enjoy making cultured foods at home.
Choosing Milk for Homemade Kefir
The original recipe uses whole milk, and whole milk is an excellent starting point for making homemade milk kefir. You can use fresh whole milk or whole milk purchased from a grocery store. Organic milk can also be used if that is your preference. The type of milk can influence the final texture and flavor, so keeping the first few batches simple makes it easier to learn how your kefir grains behave.
Goat’s milk can also be used when preferred. Coconut milk may be another option for people who want to experiment with a non-dairy variation, although milk kefir grains need appropriate care when used regularly with non-dairy milk. Periodically refreshing the grains in whole cow’s milk can help maintain their strength. Soy milk has not been included in the original method, so the most straightforward approach is to begin with whole cow’s milk.
Simple Equipment for Milk Kefir
One of the best things about this easy milk kefir recipe is that you do not need specialized fermentation equipment. A clean glass jar, such as a Mason jar, provides a convenient container for fermentation and storage. You will also need a suitable cover, such as a fermenting lid, cheesecloth, or coffee filter secured with a rubber band. These coverings allow the mixture to ferment while helping protect it from unwanted debris.
A nylon mesh strainer is useful for separating the finished kefir from the grains. A wooden spoon or silicone spatula can also make straining easier. When handling the grains, work gently rather than crushing or aggressively pressing them. Keeping your equipment clean is an important part of preparing fermented foods because it helps create a suitable environment for the intended culture.
How to Make Milk Kefir at Home
To begin this homemade kefir recipe, place 2 cups of whole milk and 1 tablespoon of milk kefir grains into a large, clean Mason jar. Cover the jar with a fermenting lid, cheesecloth, or coffee filter secured with a rubber band. The container should be positioned away from direct sunlight. A kitchen counter or pantry can work well as long as the location is suitable for fermentation and the jar is not exposed to excessive heat.
Allow the milk and kefir grains to ferment for approximately 12 to 48 hours. The exact timing depends on the environment, the activity of your grains, and how tangy or thick you prefer your finished kefir. A 24- to 36-hour fermentation is a useful range for this recipe. If you are new to making kefir, checking the mixture around the 12-hour mark can help you become familiar with the changes taking place.
Understanding the Fermentation Time
Fermentation time is one of the easiest ways to influence homemade milk kefir. At around 12 hours, the flavor may still be relatively mild. As fermentation continues, the drink generally becomes more tangy and its texture may become thicker. The milk can also separate naturally during fermentation. This does not necessarily mean something has gone wrong; separation can occur as the milk changes during the fermentation process.
Allowing the kefir to ferment for approximately 24 hours is a common approach, while 36 hours may produce a stronger flavor. The original method indicates that fermentation can generally continue for up to 48 hours. However, because conditions differ between kitchens, it is useful to observe the texture and taste rather than relying on the clock alone. Once you reach the flavor you prefer, strain the kefir and refrigerate it.
Straining Homemade Milk Kefir
When fermentation is complete, the next step is to separate the milk kefir grains from the finished drink. Pour the fermented mixture through a cheesecloth or fine nylon mesh strainer into a clean container. It is normal to notice that the milk has separated somewhat. A silicone spatula can be used gently to encourage the kefir through the strainer without damaging the grains.
The strained kefir is now ready to refrigerate, drink, or use in other recipes. The grains should be collected and returned to fresh milk if you plan to continue making kefir. Because the grains can be reused, the same basic process can be repeated with another batch of whole milk. Over time, you may find that the process becomes quick and familiar.
How to Store Homemade Milk Kefir
Once the kefir has been strained, transfer it to a clean container with a lid and refrigerate it. The original recipe recommends storing finished milk kefir in the refrigerator for up to two weeks. Chilling the kefir slows the fermentation process and gives you time to enjoy it gradually. Before serving, a gentle stir can help bring the mixture back together if it has separated slightly during storage.
For best results, keep the strained kefir refrigerated rather than leaving the finished drink at room temperature for extended periods. Because homemade fermented dairy products can vary depending on milk, culture activity, temperature, and cleanliness, always pay attention to unusual odors, colors, mold, or other signs that something may have gone wrong. When in doubt, discard the batch rather than consuming it.
Second Fermentation for Flavored Kefir
Plain milk kefir can be enjoyed as it is, but a second fermentation provides a way to experiment with flavor. After straining out the kefir grains, the finished kefir can be combined with fresh fruit or another preferred flavoring and allowed to sit at room temperature for another 1 to 2 days. Berries and seasonal fruit are particularly useful options when you want a naturally fruity variation.
A second fermentation may produce some carbonation, so leave about 1 inch of headspace in the container rather than filling it completely. This extra room allows space for pressure to develop. Because fermentation activity can vary, handle a second-fermented drink carefully and avoid sealing it in a way that cannot safely accommodate pressure.
Ways to Serve Homemade Milk Kefir
There are many easy ways to use homemade milk kefir beyond simply drinking it from a glass. Its thin, yogurt-like consistency makes it a convenient addition to smoothies. It can also be served with fresh fruit or combined with granola for a simple breakfast or snack. If you prefer a sweeter flavor, honey or maple syrup can be stirred into the finished kefir according to taste.
Homemade kefir also works well as a yogurt-style ingredient when you want something lighter and more fluid. A fruit smoothie is one of the easiest applications because the tangy kefir blends naturally with fruit. For example, you can substitute homemade kefir for yogurt in a blueberry and banana smoothie. This provides an easy way to incorporate kefir into foods you already enjoy.
Keeping Kefir Grains Between Batches
If you are making milk kefir continuously, the simplest routine is to strain the finished kefir and immediately place the grains into fresh milk. This keeps the culture active and ready for the next fermentation cycle. As your grains multiply, you may eventually need to adjust the amount of milk or decide what to do with the extra grains.
If you need a short break from making kefir, the grains can be stored in a glass container covered with pasteurized milk for up to one week. For longer storage, they need to be refreshed with milk more regularly. Keeping the grains properly fed is important because they are living cultures and depend on suitable conditions to remain active.
Notes for Consistent Homemade Kefir
The most important habits for making consistent kefir are using clean equipment, choosing appropriate milk kefir grains, protecting the jar from direct sunlight, and monitoring fermentation time. Temperature can affect fermentation speed, so the same recipe may behave differently from one kitchen to another. Rather than expecting every batch to look identical, use the flavor and texture as practical indicators of progress.
It is also important to use milk kefir grains rather than water kefir grains. These are different cultures intended for different fermentation environments. Water kefir grains are designed for sugary water-based fermentation and are not interchangeable with milk kefir grains in this recipe. Starting with the correct type of culture makes the process much more straightforward.
Common Questions About Homemade Milk Kefir
How long should milk kefir ferment?
Milk kefir can ferment for approximately 12 to 48 hours according to the original method. A shorter fermentation produces a milder result, while a longer fermentation generally creates a more pronounced tang. For this recipe, 24 to 36 hours is a practical range, although the ideal time depends on your kitchen conditions and personal taste.
Why does my kefir separate?
Separation can happen naturally as milk kefir ferments. You may notice changes in texture or visible separation in the jar. The fermented mixture can be gently strained to separate the finished kefir from the grains. If you are concerned about a batch, evaluate it for unusual color, mold, or an unpleasant smell rather than judging it solely by separation.
Can kefir grains be reused?
Yes. Reusing the grains is one of the defining features of making kefir at home. Once you strain the finished kefir, collect the grains and add them to fresh milk for the next batch. With proper care, the grains can continue to be used repeatedly and may multiply over time.
Can homemade kefir be flavored?
Yes. After the grains have been strained out, you can add fresh fruit or other preferred flavorings and allow the kefir to undergo a second fermentation for 1 to 2 days. Because this process can create carbonation, leave approximately 1 inch of headspace in the container and use an appropriate container for fermentation.
Why This Easy Kefir Recipe Works
This homemade milk kefir recipe succeeds because it keeps the process uncomplicated. There is no need for elaborate equipment, complicated temperature control, or a long ingredient list. Whole milk provides the base while live milk kefir grains provide the culture. After fermentation, the grains are strained out and reused, making the process repeatable and economical.
For anyone interested in homemade fermented foods, milk kefir is a particularly accessible recipe to start with. The process is simple enough for regular preparation, yet it also leaves plenty of room for experimentation. You can adjust fermentation time to suit your preferred tanginess, enjoy the kefir plain, blend it into smoothies, or explore fruit-based second fermentation.
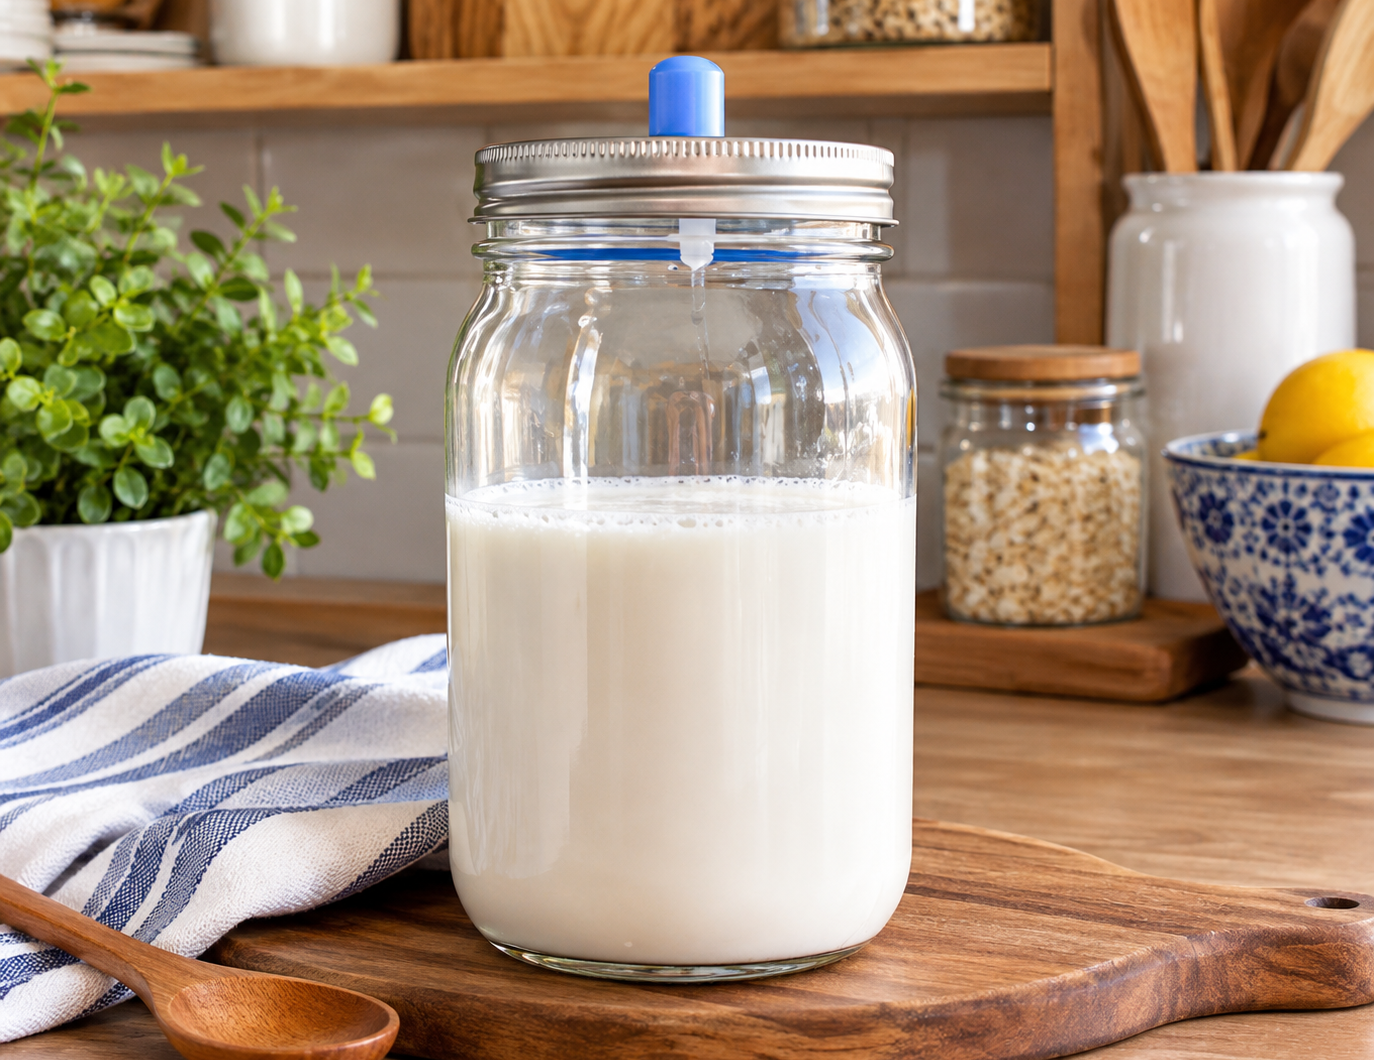
Homemade Milk Kefir Recipe
This easy homemade milk kefir recipe uses only whole milk and live milk kefir grains to create a naturally tangy, yogurt-like fermented milk drink.
4
servings5
minutes1,440
minutes1
minuteIngredients
2 cups whole milk
1 tablespoon milk kefir grains
Directions
- Add the whole milk and milk kefir grains to a large, clean Mason jar.
- Place a fermenting lid over the jar. Alternatively, cover it with cheesecloth or a coffee filter and secure it with a rubber band.
- Leave the jar on the counter or in a pantry away from direct sunlight for 12 to 48 hours. For a balanced tangy flavor, fermenting for approximately 24 to 36 hours works well.
- The milk may become thicker and tangier as fermentation progresses. Some separation is normal during fermentation.
- Pour the fermented kefir through a fine nylon mesh strainer or cheesecloth into a clean container. Gently stir with a silicone spatula if needed to help the kefir pass through.
- Carefully collect the milk kefir grains from the strainer. Do not crush them. Use them to begin your next batch with fresh milk.
- Transfer the strained kefir to a covered container and refrigerate for up to two weeks.
