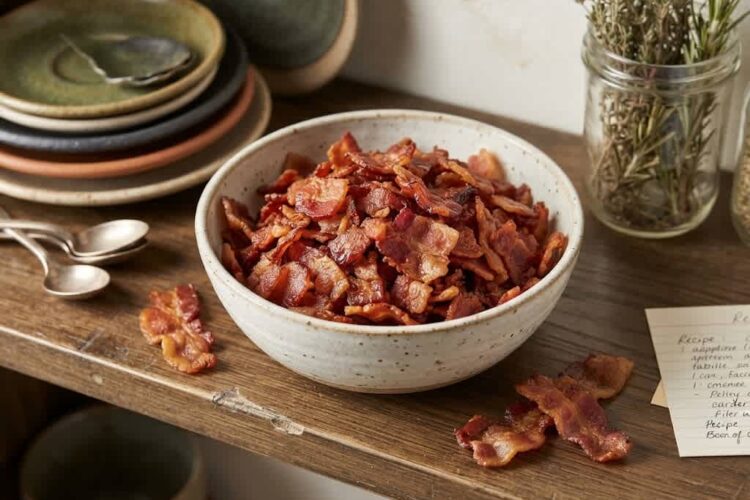
Crispy Beef Bacon Bites are an easy homemade topping that can add a rich, salty, smoky flavor to many everyday dishes. Instead of buying ready-made bacon bits, you can prepare them at home with a simple oven method that produces small, golden, crispy pieces. They are especially useful for salads, soups, sandwiches, wraps, baked potatoes, burgers, eggs, and other meals that benefit from a crunchy savory topping. The preparation is straightforward, and because the recipe uses just one ingredient, there is very little work involved.
Why Make Homemade Bacon Bits?
Homemade bacon bits have a noticeable advantage over many packaged versions because you control exactly what goes into the recipe. Fresh bacon is cut into small pieces and cooked until the fat renders and the pieces become crisp. The result is flavorful, crunchy, and easy to store for later meals. Making bacon bits yourself also allows you to choose the size of the pieces, giving you either small crumbs for salads or slightly larger bites for burgers, wraps, and breakfast dishes.
Another benefit is the texture. Store-bought bacon pieces can vary considerably in size and crispness, while homemade bacon bits can be cooked according to your preference. Some people enjoy very crisp pieces with a deep golden color, while others prefer bacon that remains slightly tender in the center. The oven method used here makes it easier to cook a larger quantity evenly while allowing the bacon fat to render naturally. Regular stirring during cooking helps separate the pieces and encourages even browning.
Choosing the Bacon
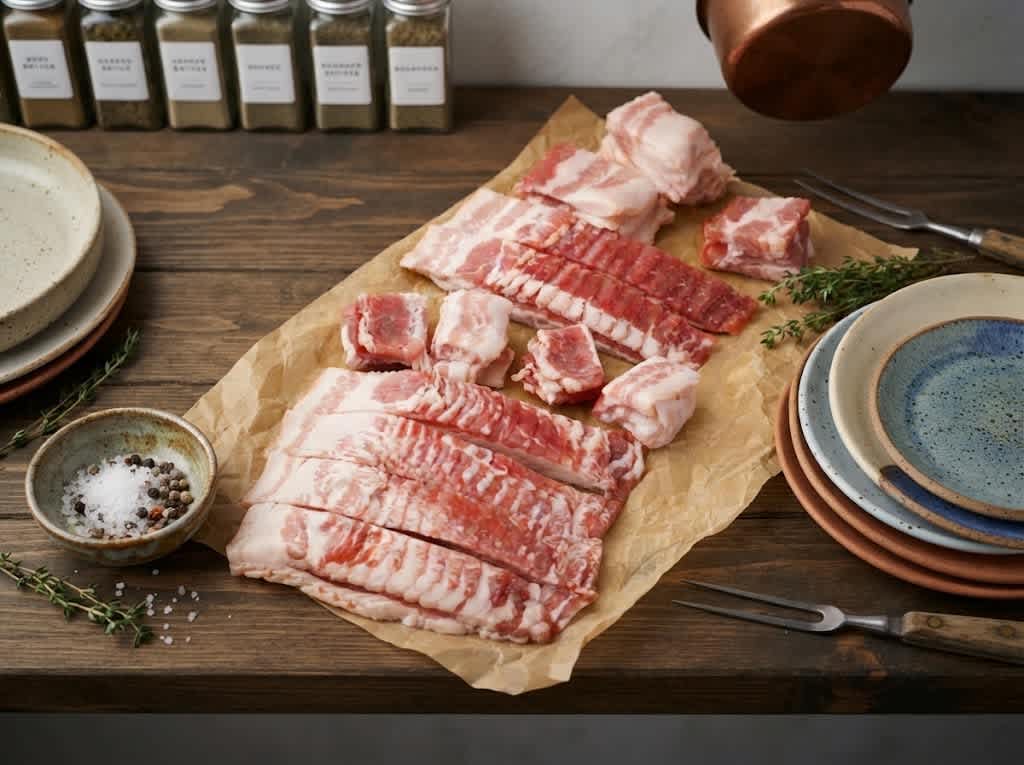
The most important ingredient in this recipe is, naturally, the bacon. The original recipe uses thick-cut bacon, which is particularly useful because it produces substantial pieces after cooking. Thin bacon can become extremely small and fragile once the fat renders, whereas thick-cut bacon holds its shape better and gives the finished bacon bits a satisfying texture. Turkey bacon can also be used according to the original ingredient list, although the final texture and amount of rendered fat may differ.
For those who prefer to pay attention to the ingredient label, nitrate-free bacon can be considered. When shopping, check the packaging carefully and compare different products based on their ingredient lists and personal dietary preferences. The bacon itself supplies the seasoning and flavor in this recipe, so choosing a variety you already enjoy eating is one of the easiest ways to achieve a good result.
The Secret to Easier Cutting
One of the most useful steps in this recipe happens before the bacon reaches the pan. Bacon is soft and flexible when it is freshly removed from the refrigerator, which can make cutting it into small, uniform pieces difficult. Chilling the bacon further firms the fat and meat, allowing you to slice it more cleanly. This is particularly helpful when working with several strips at once.
If the bacon is already frozen, allow it to thaw partially rather than completely. If it is fresh or fully thawed, place it in the freezer for about 30 minutes. The goal is not to freeze the bacon solid but to make it very cold and slightly firm. This small preparation step makes a considerable difference when cutting the strips into narrow sections and then into bite-sized pieces.
How to Cut Bacon for Bacon Bites
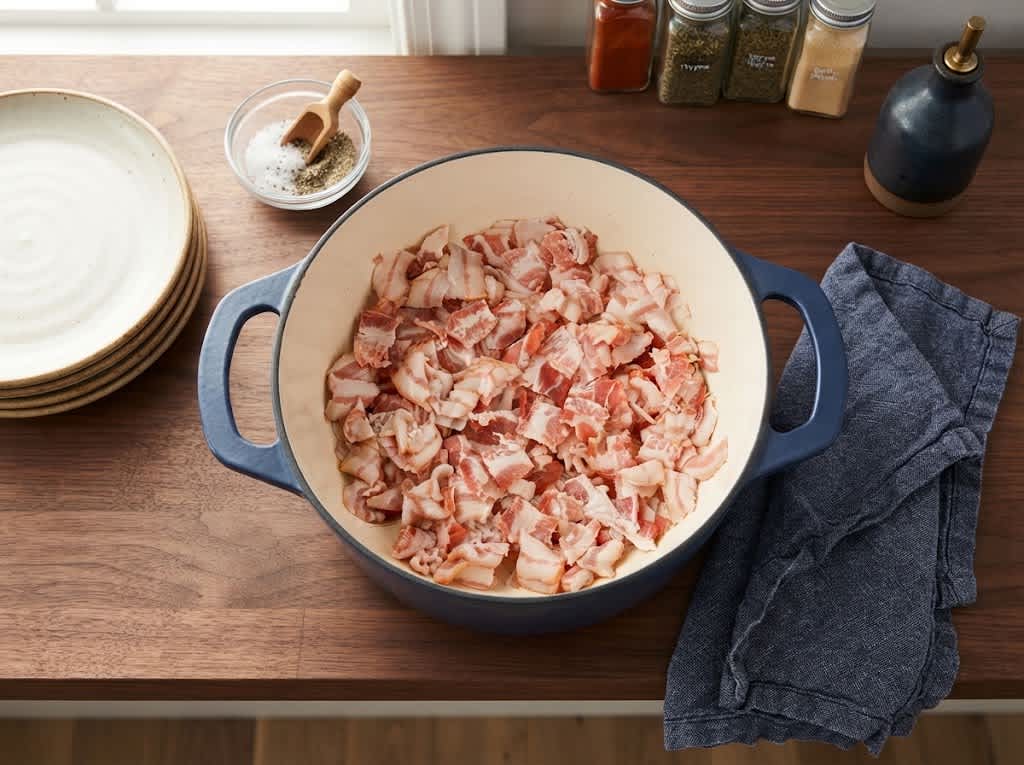
Once the bacon is properly chilled, stack the strips directly on top of one another. Avoid making the stack too thick because the knife should be able to pass through the layers safely and evenly. Slice the stacked bacon lengthwise so that each strip becomes narrower. After that, cut across the strips to create small chunks. Keep in mind that bacon shrinks significantly during cooking as the fat renders and moisture is released.
The exact size of your pieces can be adjusted according to how you plan to use them. Smaller pieces are convenient when you want a sprinkling of bacon over a salad, soup, or baked potato. Slightly larger chunks work particularly well as a topping for burgers, sandwiches, breakfast plates, and wraps. Keeping the pieces reasonably similar in size is helpful because they will cook at a similar rate.
Preparing the Cast Iron Pan
A cast iron pan works especially well for this recipe because it retains heat effectively and can move directly from the stovetop into the oven. Place the cut bacon pieces into the pan and cook them for a couple of minutes over medium-high heat. This short stovetop step warms the pan and helps separate pieces that may have stuck together during cutting.
There is no need to fully cook the bacon on the stovetop. The main cooking takes place in the oven. Think of this initial step as a way to get the pan hot and loosen the bacon pieces before they begin their longer oven cooking time. Once the pieces have separated and the pan is heated, it can be transferred carefully to the preheated oven.
Baking the Bacon Until Crisp
Preheat the oven to 425ºF before beginning the main cooking process. Once the bacon pieces have been briefly heated in the cast iron pan, transfer the pan to the oven and bake for approximately 25 to 30 minutes. The bacon will gradually release its fat while the individual pieces become darker, firmer, and crispier.
Because ovens and bacon varieties can behave differently, it is useful to check the pan every five to seven minutes. Give the bacon pieces a careful stir so that they can cook more evenly. Stirring also helps prevent pieces from remaining in one position for too long. Continue cooking until the bacon reaches the level of crispness you prefer, keeping a close eye on it toward the end of the cooking period.

Why Stirring Matters
Stirring the bacon during baking is a small step, but it can make the finished result more consistent. Bacon pieces sitting against the hot surface of a cast iron pan can brown more quickly than pieces sitting above them. Moving the pieces around redistributes them and allows different sides to come into contact with the hot pan.
Checking the bacon regularly is also helpful because the final stage of cooking can happen quickly. Once most of the moisture has evaporated and the fat has rendered, the pieces can move from nicely browned to overly dark in a short period. Regular checks give you greater control over the final texture and help you remove the pan when the bacon reaches your preferred level of crispness.
Draining the Cooked Bacon
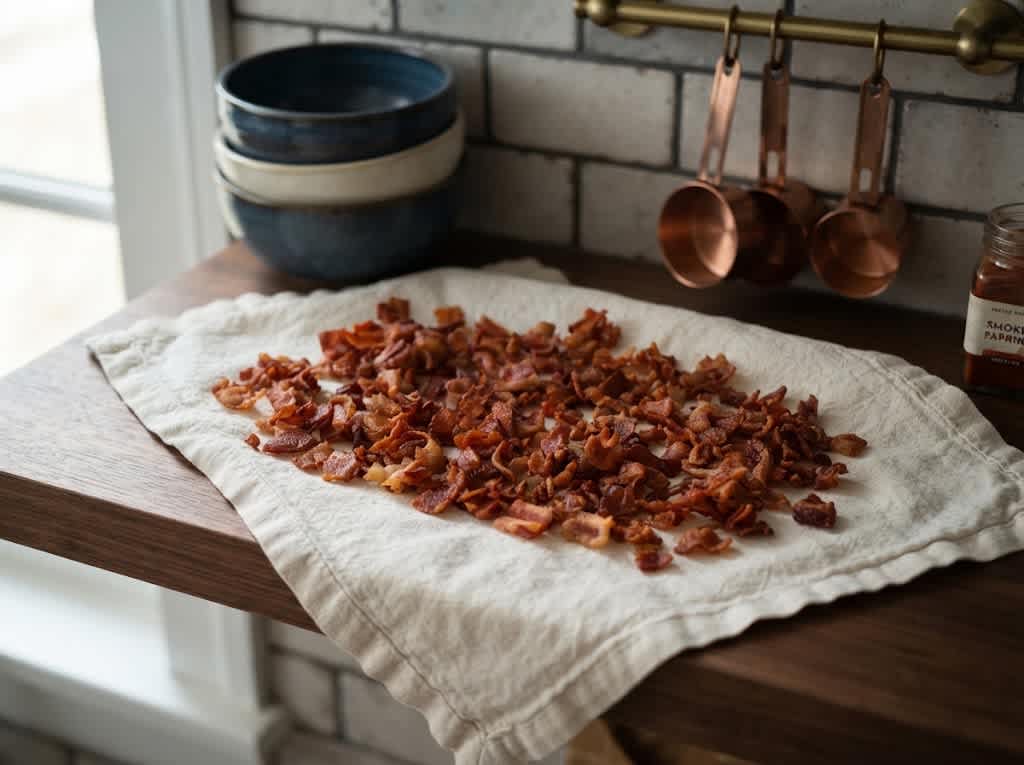
When the bacon bits are finished, carefully remove them from the pan and transfer them to paper towels. The paper towels absorb excess grease from the surface, leaving behind crisp bacon pieces that are easier to sprinkle over other foods. Allowing the bacon to drain briefly also gives the pieces time to firm up as they cool.
Do not judge the final texture immediately after removing the bacon from the oven. Very hot bacon can still feel somewhat soft because the rendered fat remains warm. As the pieces cool and excess grease is absorbed, they generally become firmer and crispier. This makes the draining step useful not only for removing excess grease but also for improving the finished texture.
Ways to Use Crispy Bacon Bites
There are many ways to use homemade bacon bits in everyday cooking. Sprinkle them over a green salad for a salty, crunchy element, or add them to a creamy soup just before serving. They can also be used on baked potatoes, scrambled eggs, omelets, burgers, sandwiches, wraps, and other dishes where a smoky savory topping works well.
These crispy pieces are also useful when you want to make a simple meal feel more substantial without preparing an elaborate topping. A handful can add texture to a bowl of vegetables, while a small sprinkle can make breakfast dishes more flavorful. Since the pieces are already cooked, they can simply be added at the end of cooking rather than requiring additional preparation.
Storage and Make-Ahead Notes
Homemade bacon bits can be prepared ahead of time when you want a convenient topping available for several meals. After cooking, allow the pieces to cool properly before transferring them to an appropriate airtight container. Keeping them protected from excess moisture is important because moisture can reduce their crisp texture.
For the best texture, use the bacon pieces while they are fresh and crisp. If you prepare a larger batch, portioning them into smaller amounts can make them easier to use throughout the week. Always use sensible food-storage practices and follow the storage guidance appropriate for the bacon product you purchased.
Frequently Asked Questions
Can I use frozen bacon?
Yes. If your bacon is frozen, allow it to thaw about two-thirds of the way before cutting. Partially thawed bacon is firm enough to slice more easily while still being workable. The goal is to have bacon that is very cold and slightly firm rather than completely solid.
Why should bacon be chilled before cutting?
Cold bacon is firmer and easier to handle than soft bacon straight from the refrigerator. Chilling also helps you make cleaner cuts and more uniform pieces. Since the bacon will shrink during cooking, reasonably consistent pieces help produce a more even final texture.
Can turkey bacon be used?
Yes. Turkey bacon is included in the original ingredient list and can be used as an alternative. Because turkey bacon can have a different fat content and texture from traditional bacon, the finished result may not be identical. Keep an eye on it during baking and adjust the cooking time according to its appearance.
Can I make the bacon pieces smaller?
Yes. You can cut the bacon into smaller pieces if you want a fine topping for salads, soups, or other dishes. Remember that bacon shrinks while cooking, so very small pieces can become considerably smaller after baking. Keeping the pieces slightly larger before cooking can help prevent them from becoming too tiny.
What makes these bacon bits crispy?
The combination of high oven heat, rendered fat, and sufficient cooking time creates the crisp texture. Chilling the bacon before cutting and stirring it during baking also helps the pieces cook more evenly. After cooking, draining them on paper towels removes excess surface grease and allows the pieces to firm as they cool.
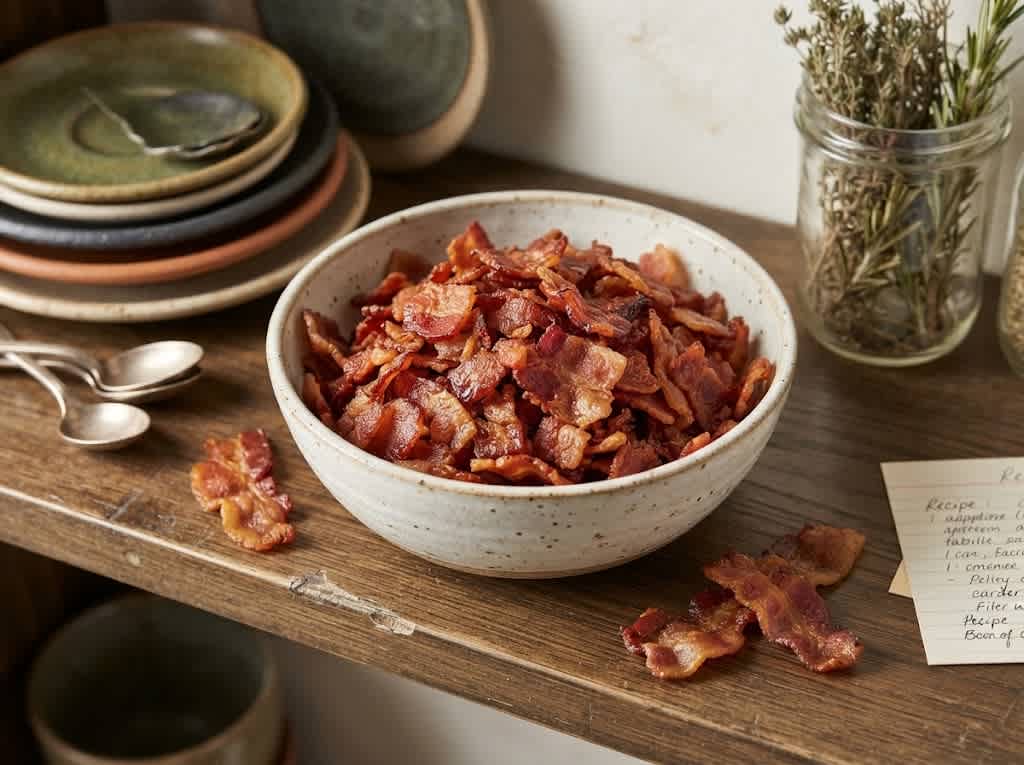
Crispy Beef Bacon Bites Recipe
Crispy Beef Bacon Bites are homemade bacon pieces cooked until golden, savory, and crisp. They are simple to prepare and make a versatile topping for salads, soups, wraps, burgers, baked potatoes, eggs, and other favorite meals.
1
servings5
minutes30
minutes35
minutesIngredients
1 pound Thick Cut Bacon (turkey bacon works too)
Directions
- Set the oven to 425ºF and allow it to fully preheat before cooking the bacon.
- If the bacon is frozen, thaw it about two-thirds of the way. If it is already thawed, place it in the freezer for approximately 30 minutes. The bacon should be very cold and slightly firm rather than completely frozen.
- Stack the bacon strips in manageable piles. Slice each stack lengthwise to make the strips thinner, then cut horizontally into small chunks. Remember that the bacon will shrink as it cooks.
- Place the cut bacon pieces into a cast iron pan. Cook over medium-high heat for a couple of minutes to warm the pan and help separate pieces that may be sticking together.
- Carefully transfer the cast iron pan to the preheated oven. Bake at 425ºF for 25–30 minutes.
- Check the bacon every 5–7 minutes and stir the pieces so they cook and brown more evenly.
- Once the bacon reaches your desired crispness, carefully remove the pieces from the pan and place them on paper towels to absorb excess grease.
- Allow the crispy bacon bites to cool briefly, then use them as a topping for salads, soups, wraps, burgers, eggs, potatoes, sandwiches, or other dishes.
